Latest Digital Magazine
Directory
Travel Podcast
Travel Articles
Attractions
Culinary
Cruises
US Destinations
International Travel
US Hotels
International Hotels
Wellness
Relocation
Board of Advisors
Latest Digital Magazine
Directory
Travel Podcast
Travel Articles
Attractions
Culinary
Cruises
US Destinations
International Travel
US Hotels
International Hotels
Wellness
Relocation
Board of Advisors
in-room sauna
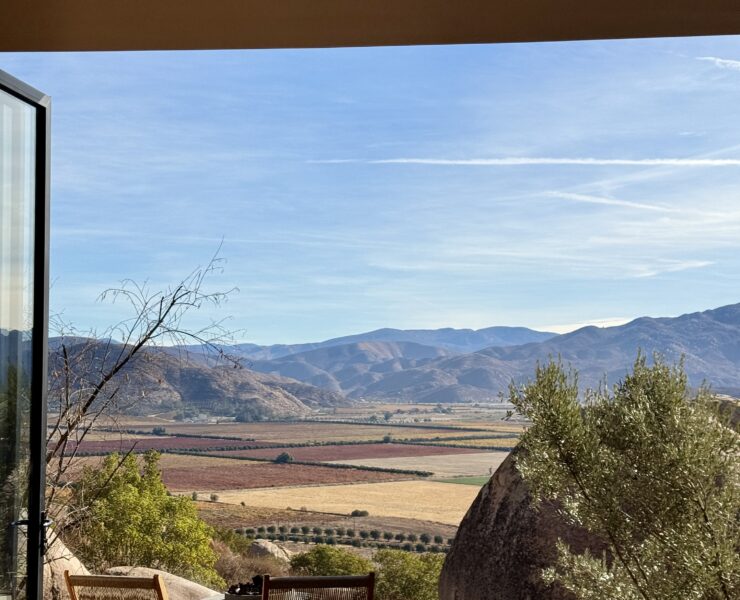
Mira Hotel – the Ultimate Reset + Recharge Spot in Valle de Guadalupe
wpengine
Scroll To Top
Latest Digital Magazine
Directory
Travel Podcast
Travel Articles
Attractions
Culinary
Cruises
US Destinations
International Travel
US Hotels
International Hotels
Wellness
Relocation
Board of Advisors
Authors
Contact
About
Facebook
Twitter
Instagram
Youtube
Linkedin