Latest Digital Magazine
Directory
Travel Podcast
Travel Articles
Attractions
Culinary
Cruises
US Destinations
International Travel
US Hotels
International Hotels
Wellness
Relocation
Board of Advisors
Latest Digital Magazine
Directory
Travel Podcast
Travel Articles
Attractions
Culinary
Cruises
US Destinations
International Travel
US Hotels
International Hotels
Wellness
Relocation
Board of Advisors
International Hotels
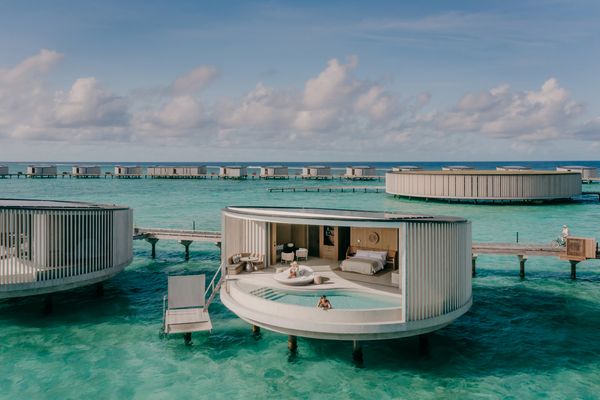
Eight Dreamy Escapes to Savor in the Maldives
Fairmont Tangier – Luxury Oasis in the Heart of Morocco
Hotel & Villa Auersperg — timeless charm and modern comfort
The Retreat Costa Rica Unveils $3 Million Expansion Plans
Fairmont Chateau Lake Louise – Offering Unparalleled Beauty and Luxury
Winter Season Opener for Two Distinct 5-Star Italian Alps Getaways
Wellness Becomes a Way of Life at Six Senses Spa Con Dao
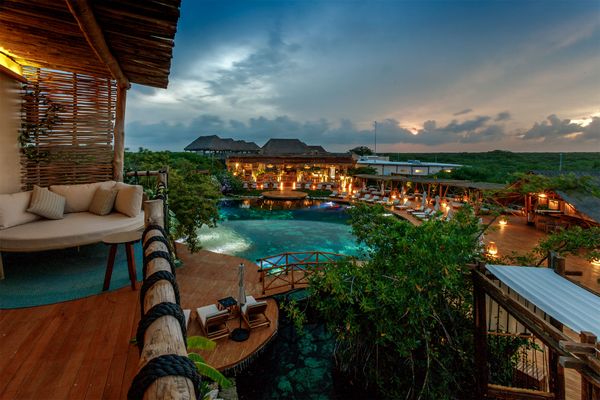
Discover Award-Winning Bliss at Shibari Tulum
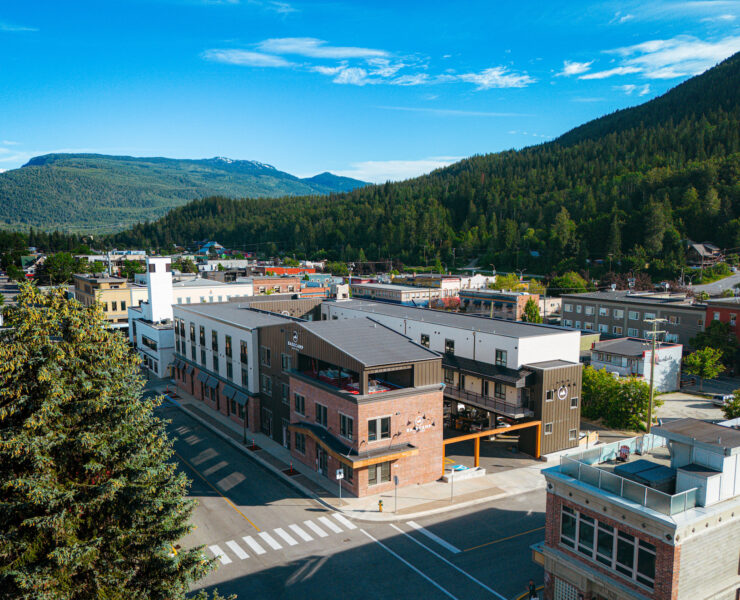
Basecamp Suites Revelstoke – A Modern Boutique Hotel
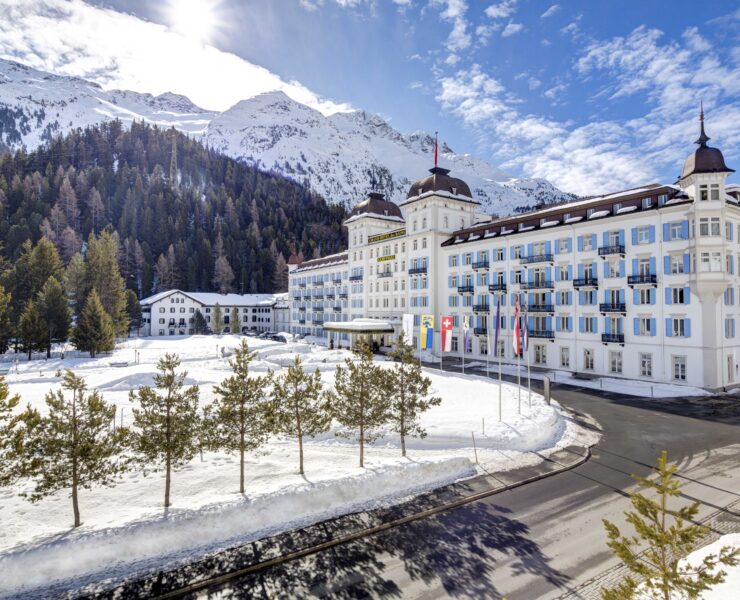
Grand Hotel des Bains Kempinski to Bring the Extravagance of Billionaire to St. Moritz
Posts pagination
1
2
3
4
5
6
…
10
FEATURED POSTS
Lemala Osonjoi Lodge
Grand Miramar All Luxury Suites & Residences
Ordovician Beach Resort Makes Its Grand Debut In Panama
Scroll To Top
Latest Digital Magazine
Directory
Travel Podcast
Travel Articles
Attractions
Culinary
Cruises
US Destinations
International Travel
US Hotels
International Hotels
Wellness
Relocation
Board of Advisors
Authors
Contact
About
Facebook
Twitter
Instagram
Youtube
Linkedin