
Renowned for its vibrant mix of live music, workshops, wild crafts, food, and inspiring speakers, Into The Wild is cherished not just as a festival but as a thriving community. What began as a small annual gathering has grown into a space for 5,000 attendees, where friendships are forged, collaborations bloom, marriages are celebrated, and even a birth has taken place.
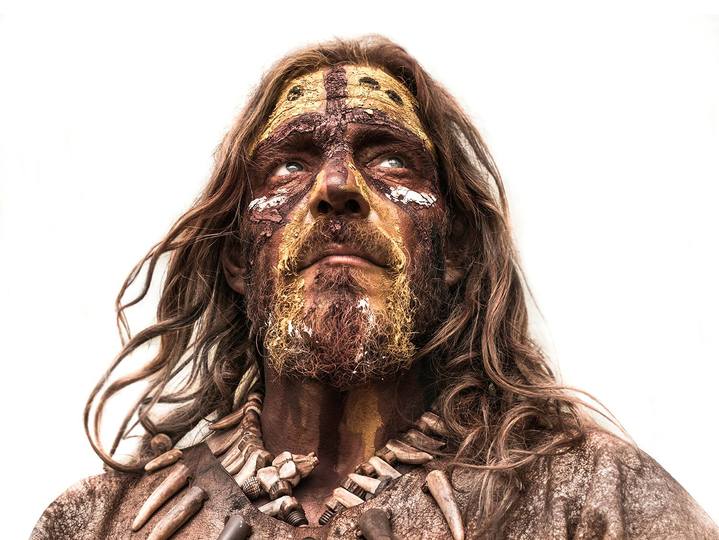
Wild crafts and workshops remain at the beating heart of the festival experience, and 2025 promises one of the most exciting and expansive offerings to date. With over 200 workshops included in the ticket price, attendees can explore everything from traditional crafts and foraging to fire, den, and chocolate making to flint knapping with Will Lord, medicinal plant walks, yoga sessions, wild spas, and ceramic sessions. All experiences are designed to inspire deep reconnection with nature and self.
 Alongside its vibrant cabaret offerings, Into The Wild has confirmed a diverse lineup of global artists, like Daraa Tribe with nomad tunes from North Africa, Ant Bahar Di, Ustad Noor Bakhsh from Rajasthan, UK rapper Viktus, Mongolian Odyssey’s throat singing, the Magic Tree collective, and Welsh folk artist Bethan Lloyd, plus many more.
Festival Founder Huw Williams comments: “We’re incredibly excited to bring Into The Wild back this August. Over the past 11 years, the festival has grown into something truly special. It’s a space where people of all ages can celebrate nature, creativity, and community. The response has been amazing year after year, and we can’t wait to share what we have planned for 2025.”
Environmental and social responsibility remain at the heart of Into The Wild. This year, the festival will welcome leading organizations and charities such as the Captain Paul Watson Foundation, WWF, Greenpeace, The Twelve Step Fellowship, and the Sussex Wildlife Trust, further strengthening its long-standing commitment to conservation, activism, and ecological awareness.
Originally founded in 2014, the festival has grown to create its own CIC Wilderlands, helping to Rewild, support wildlife, and create habitat for nature. The festival continues to champion a family-friendly, inclusive, and nature-focused ethos, making it a standout experience in the UK festival landscape year after year.

Find Out More & Follow
