Latest Digital Magazine
Directory
Travel Podcast
Travel Articles
Attractions
Culinary
Cruises
US Destinations
International Travel
US Hotels
International Hotels
Wellness
Relocation
Board of Advisors
Latest Digital Magazine
Directory
Travel Podcast
Travel Articles
Attractions
Culinary
Cruises
US Destinations
International Travel
US Hotels
International Hotels
Wellness
Relocation
Board of Advisors
Wellness
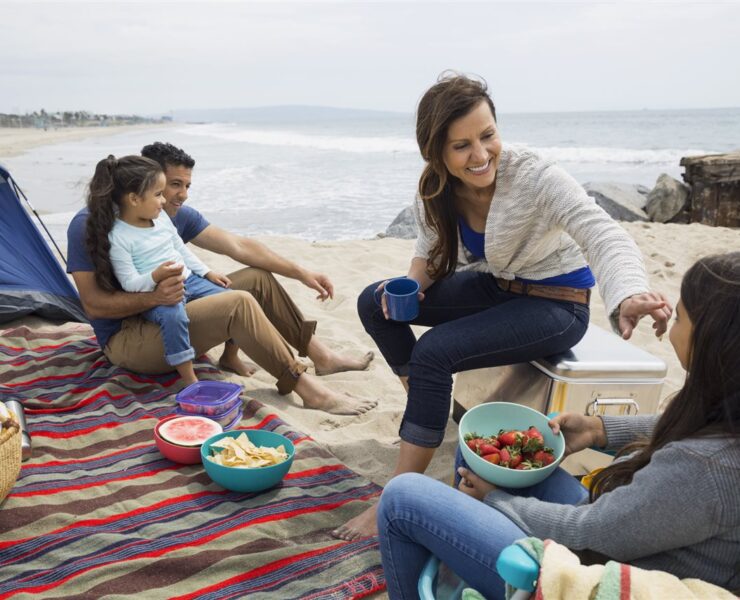
5 Mistakes to Avoid When Having Fun in the Sun
Hello Alvin – Affordable Healthcare
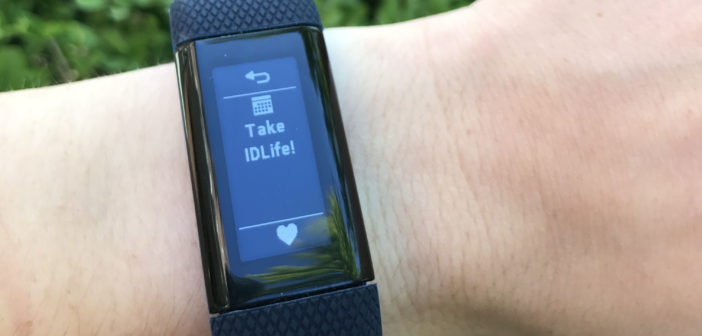
Garmin Partners with IDLife
CycleBar San Antonio
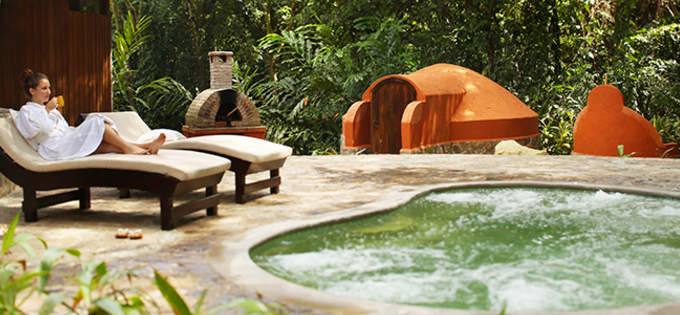
Lodge at Pico Bonito – Unveils Healthy Spa
Medical Travel: 101
Posts pagination
1
…
4
5
6
FEATURED POSTS
Lemala Osonjoi Lodge
Grand Miramar All Luxury Suites & Residences
Ordovician Beach Resort Makes Its Grand Debut In Panama
Scroll To Top
Latest Digital Magazine
Directory
Travel Podcast
Travel Articles
Attractions
Culinary
Cruises
US Destinations
International Travel
US Hotels
International Hotels
Wellness
Relocation
Board of Advisors
Authors
Contact
About
Facebook
Twitter
Instagram
Youtube
Linkedin